Adding a Connection
Connections needs to be created to configure where the data will be sent, received, and stored when exchanged between stakeholders.
Caution
When building a flow, there should never be two sources listening to the same sftp server, directory, and regex as it will cause files to go to whatever source happened to pick them up first.
Note
If you have just created an Integration and are already on the Integrations's page, go to step 4.
In the Connect tab, select the Customer for which you are adding a Connection.

From the Integrations list or the left side panel, click the Integration for which you are adding a Connection.
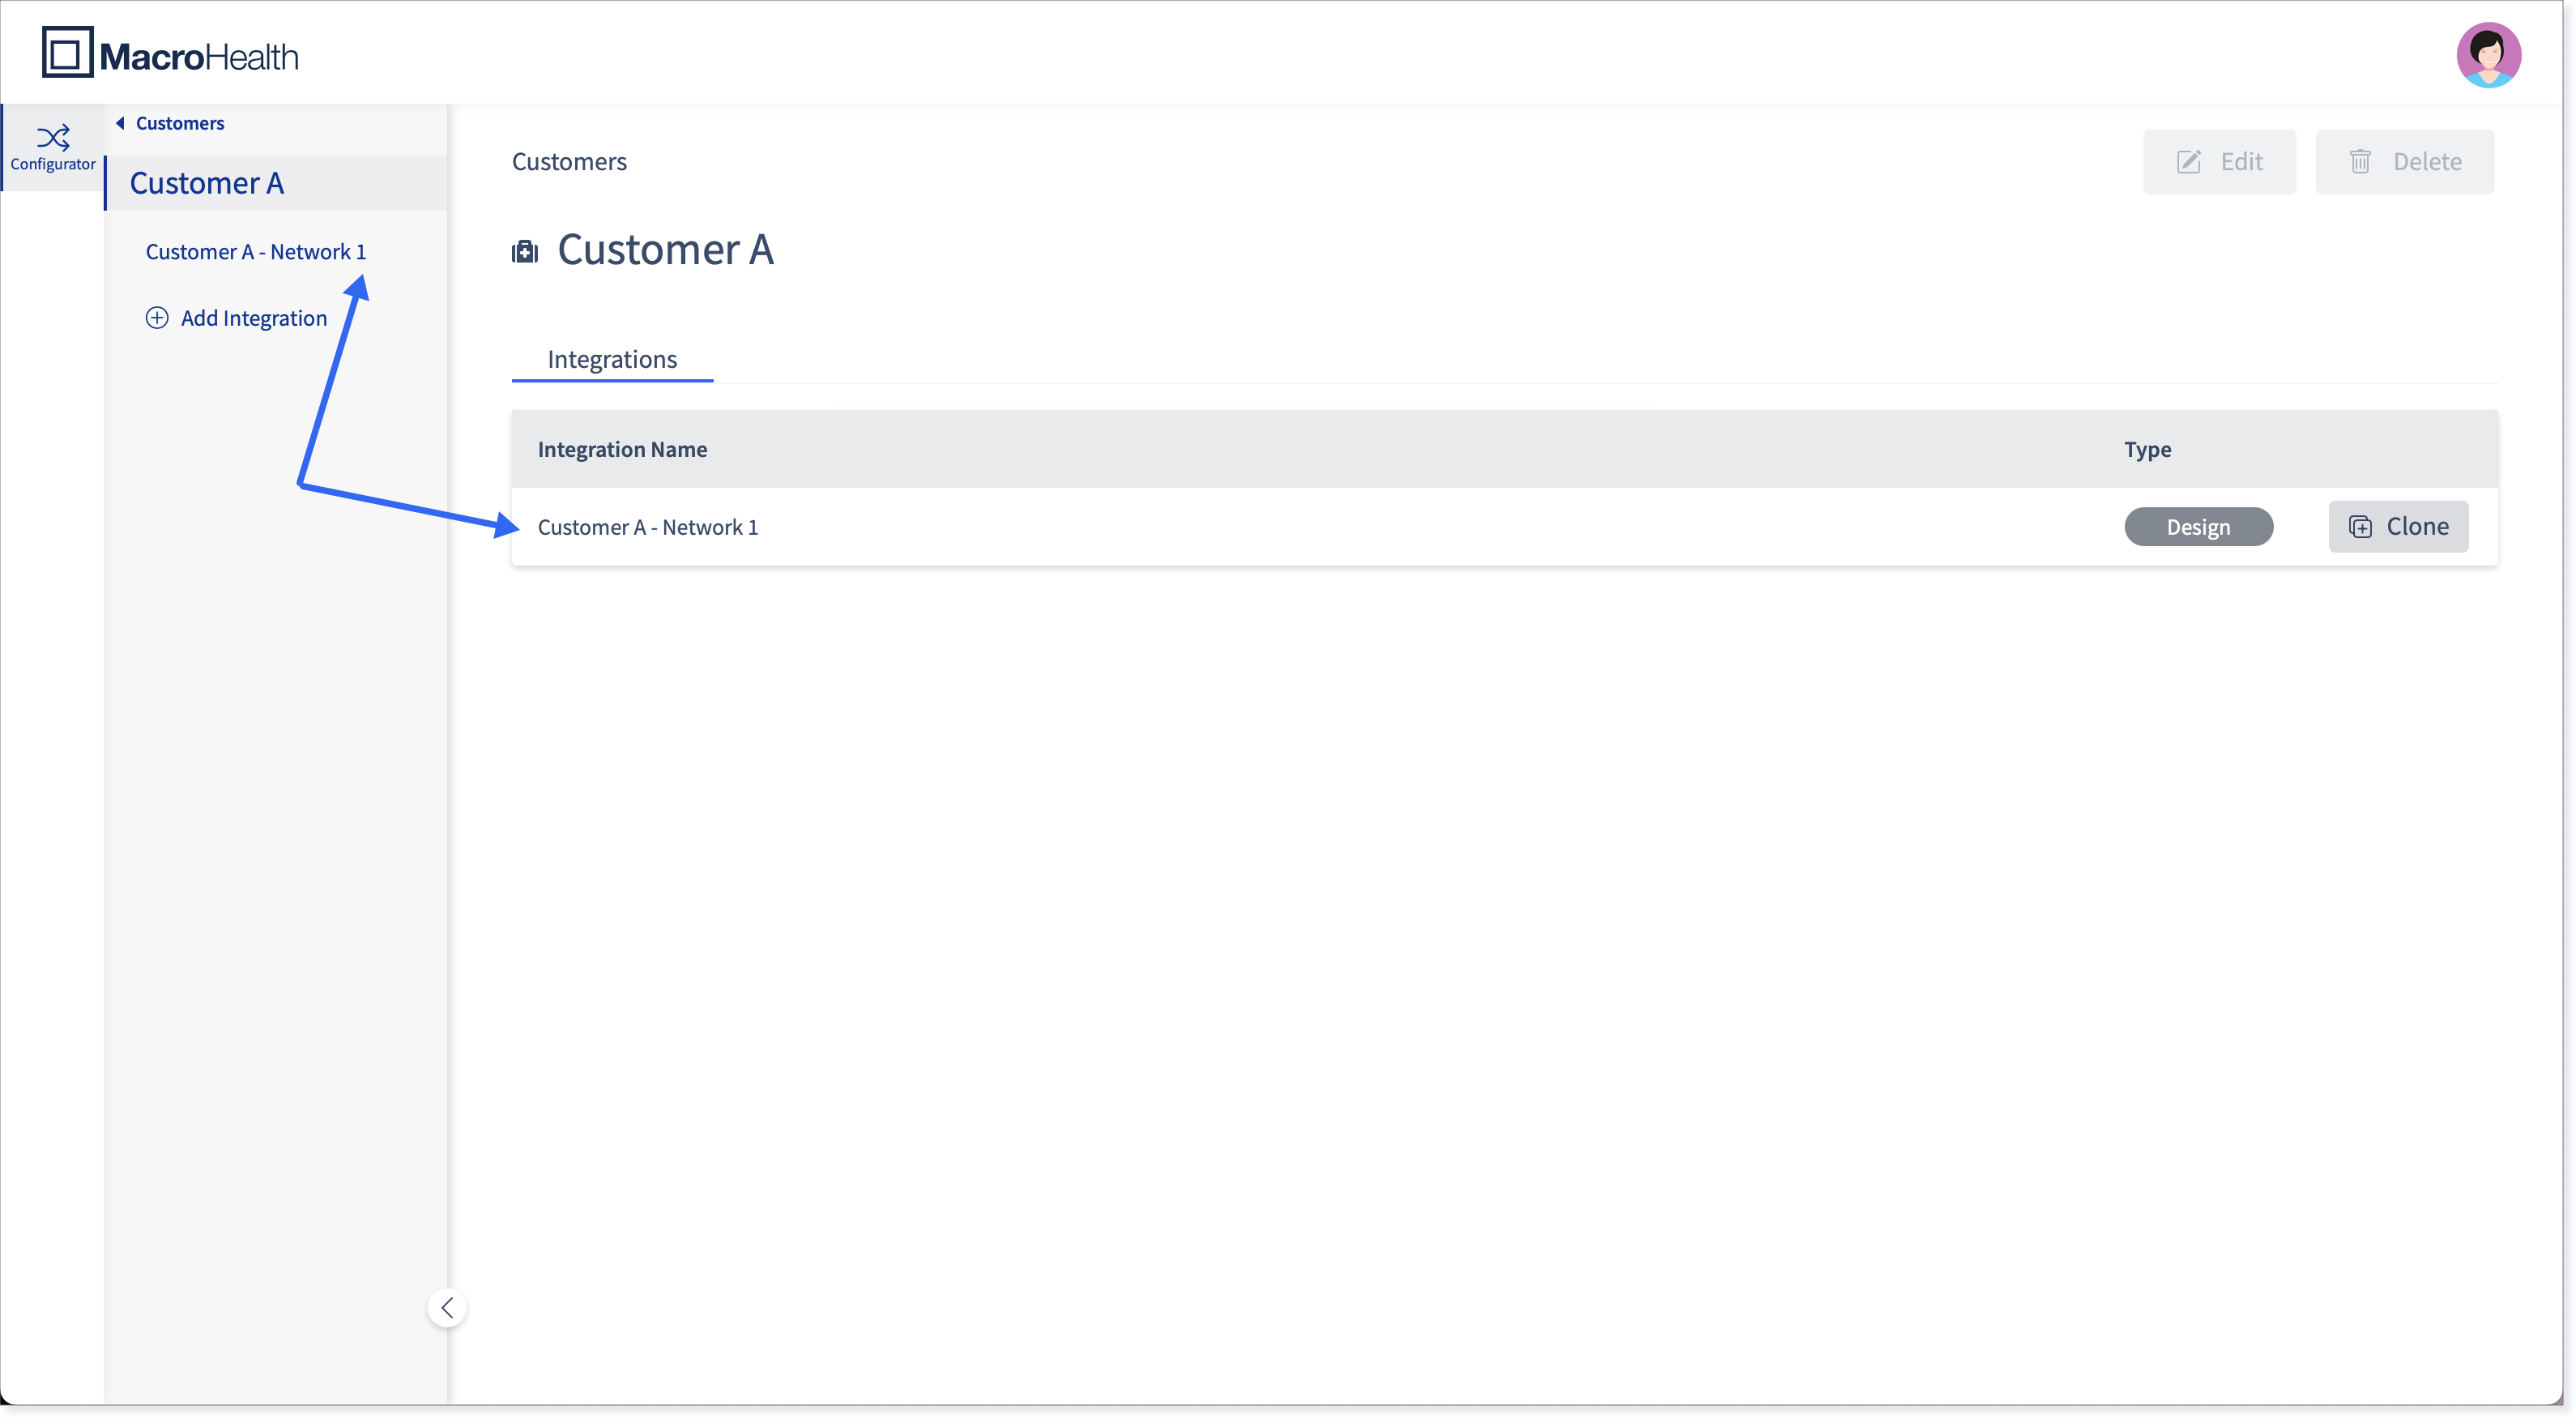
Click Add Connection.

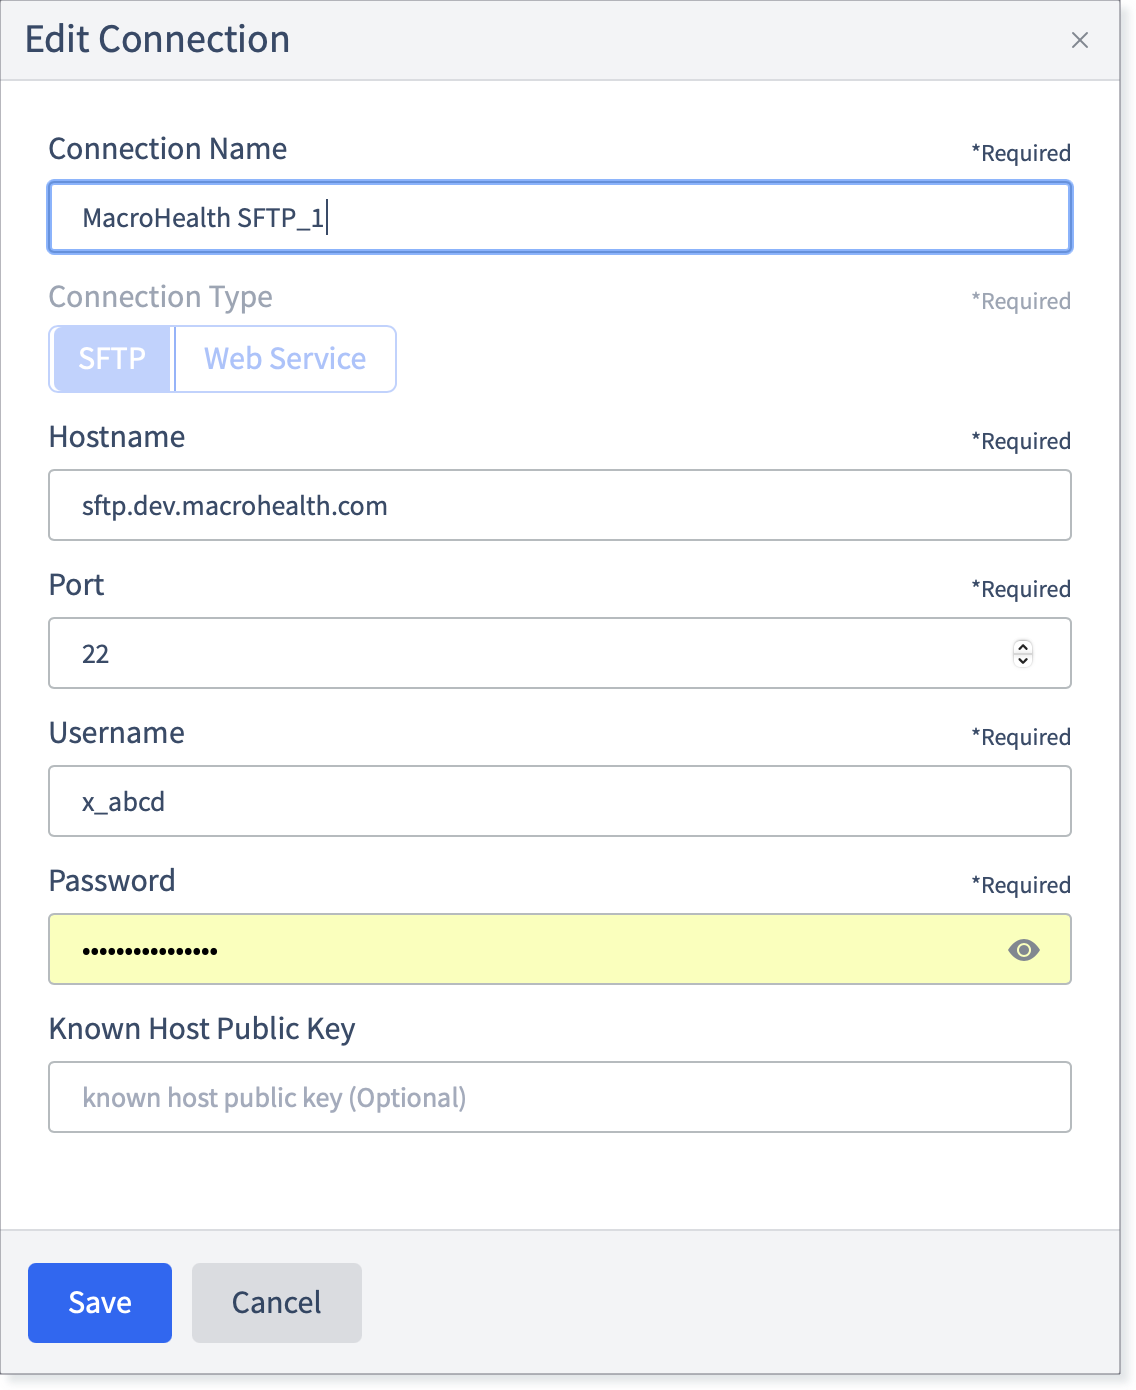
Fill in the following Connection information:
Note
The information to fill in the Connection configuration fields will be provided by the Implementation team.
Notice
The fields marked with an Asterix (*) are Required.

Connection Name*: Enter a name for the connection. It should be descriptive such as the name of the stakeholder and the connection type (e.g., MacroHealth SFTP or Payer's Name SFTP)
Connection Type*: SFTP is selected by default because is the only connection type supported at the moment.
Hostname*: The URL address of the SFTP server to connect (e.g., sftp.dev.macrohealth.com)
Port*: The port on which the server listens to incoming connection. The default is 22 for SFTP.
Username*: Username credential to connect to the SFTP server.
Password*: Password credential to connect to the SFTP server.
Known Host Public Key: You can upload a public host key of the SFTP server the customer is connecting to. The server’s public key is sent to connecting customers for validation and to ensure the SFTP server they are connecting to is the correct server.
Click Continue.

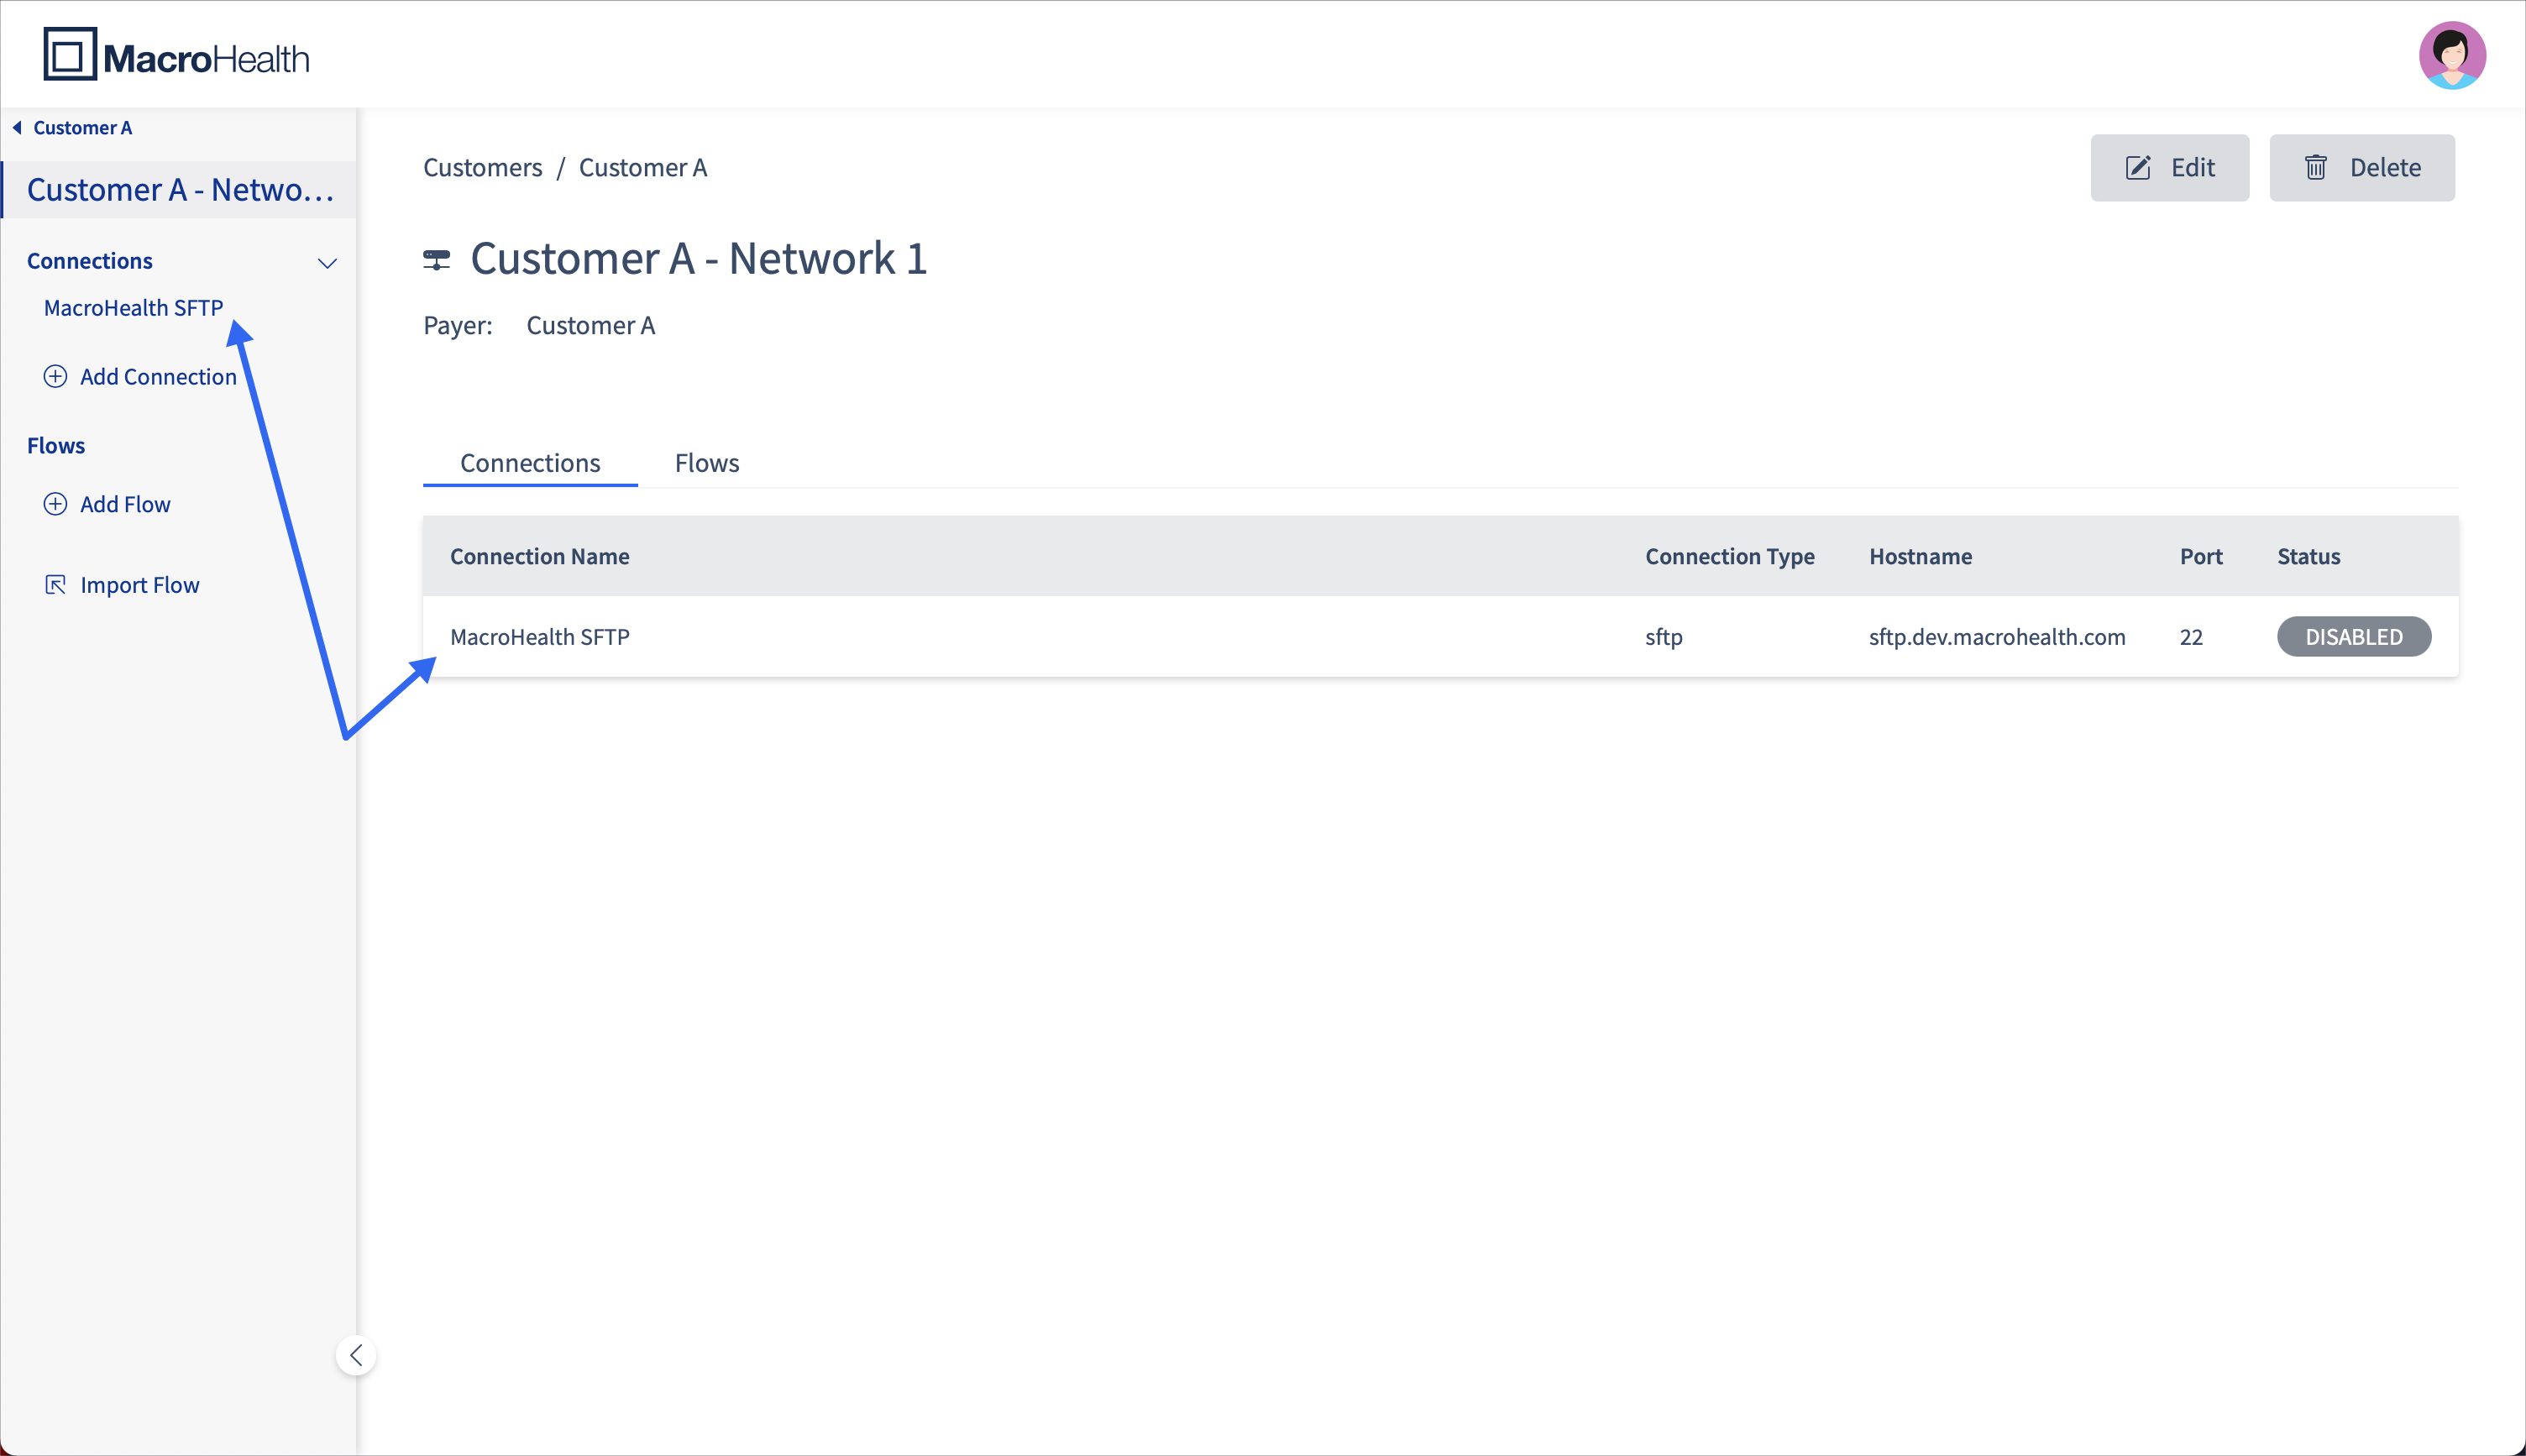
A message will appear for a short period of time letting you know that the Connection was saved successfully. You will land on the Connections page.

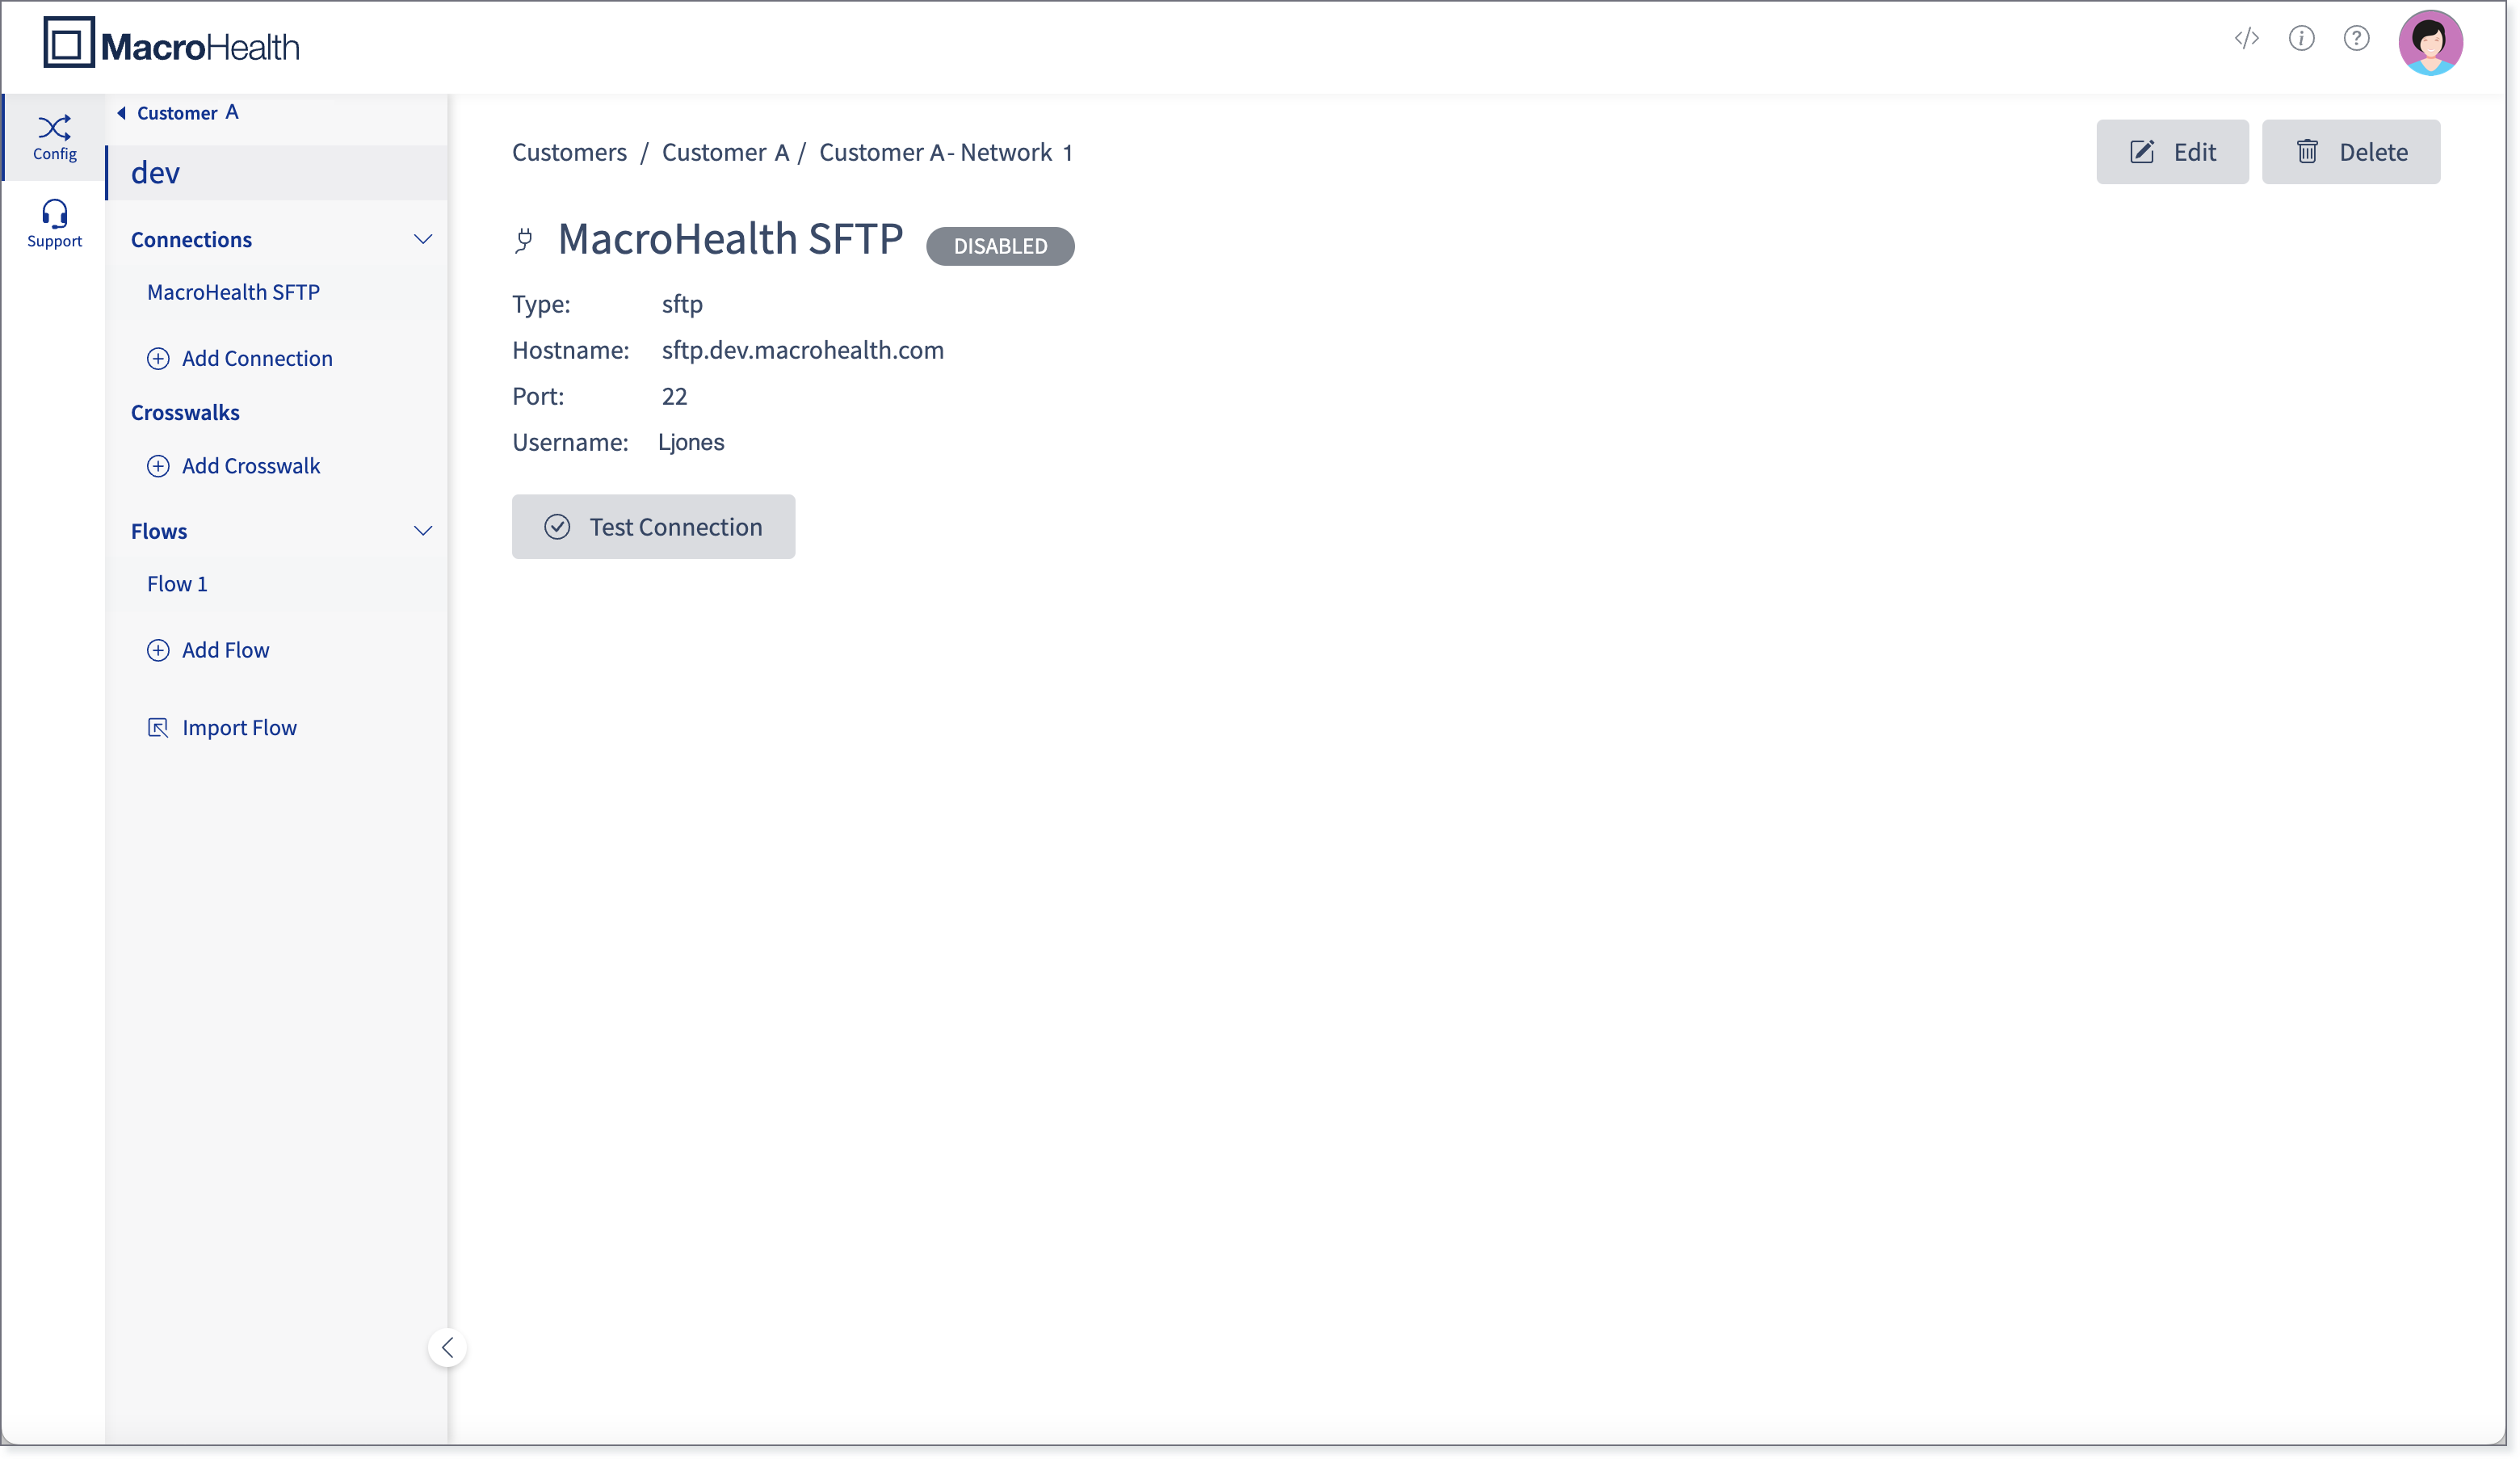
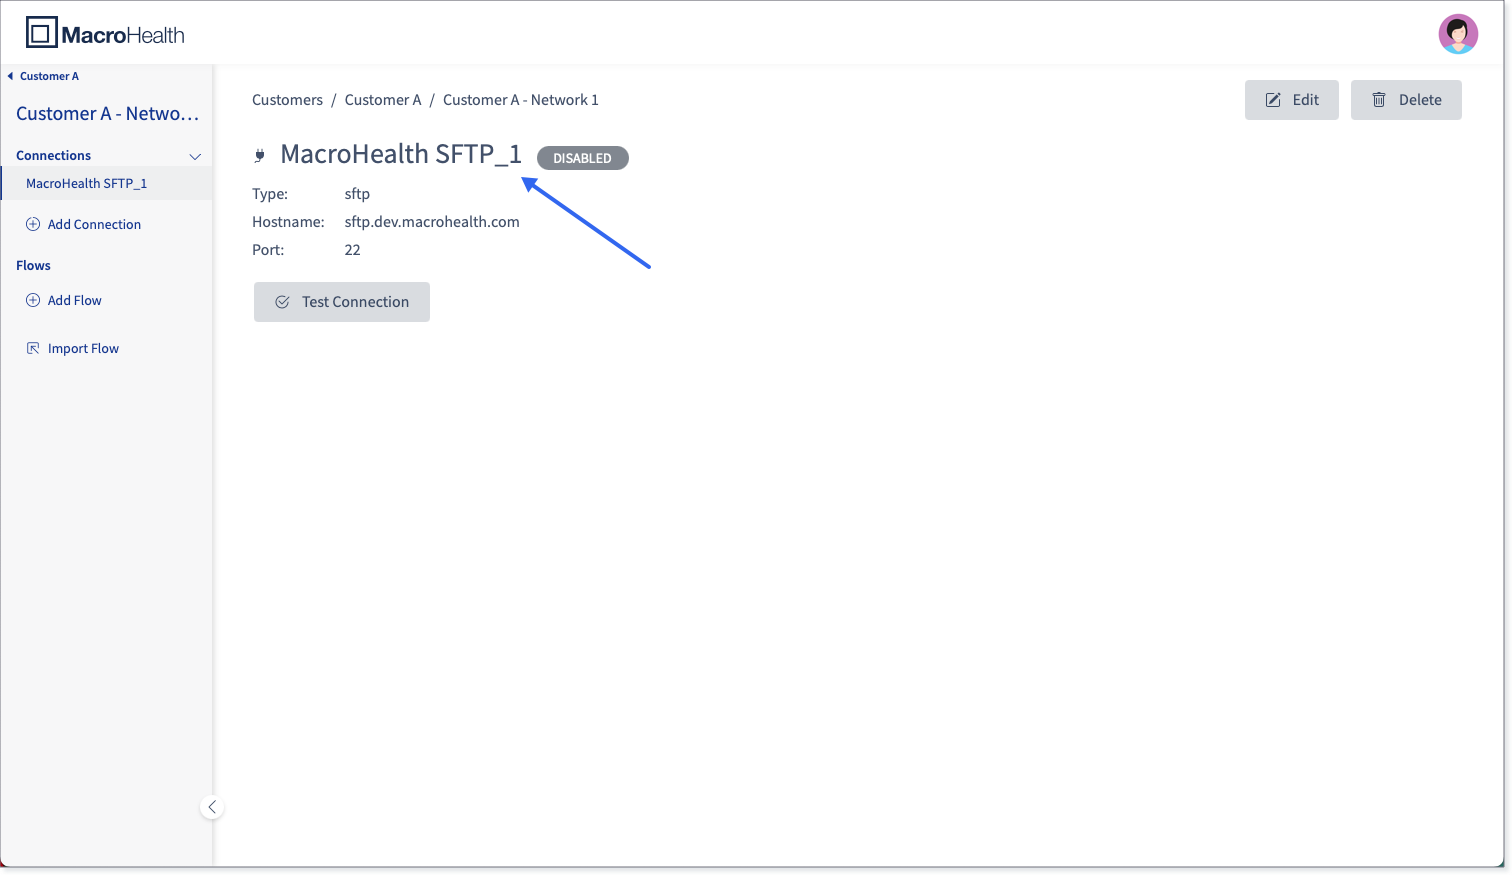
The Connection page contains the following information:
Type: The connection type.
Hostname: The URL address of the SFTP connection.
Port: The port on which the server listens to incoming connection.
Username: The name of the person who created the connection.
Make sure the connection is working by clicking Test Connection.

Once the Connection tests successfully, the Connection will change from DISABLED to TESTED.

To add another Connection, click Add Connection.

Tip
Now that you have added a Connection, you can go to Section : “Adding a Flow”.
Editing a Connection
Select the Connect tab.

Select the Customer for the Connection that needs to be edited.
Select the Integration from the Integrations list or from the left side panel.
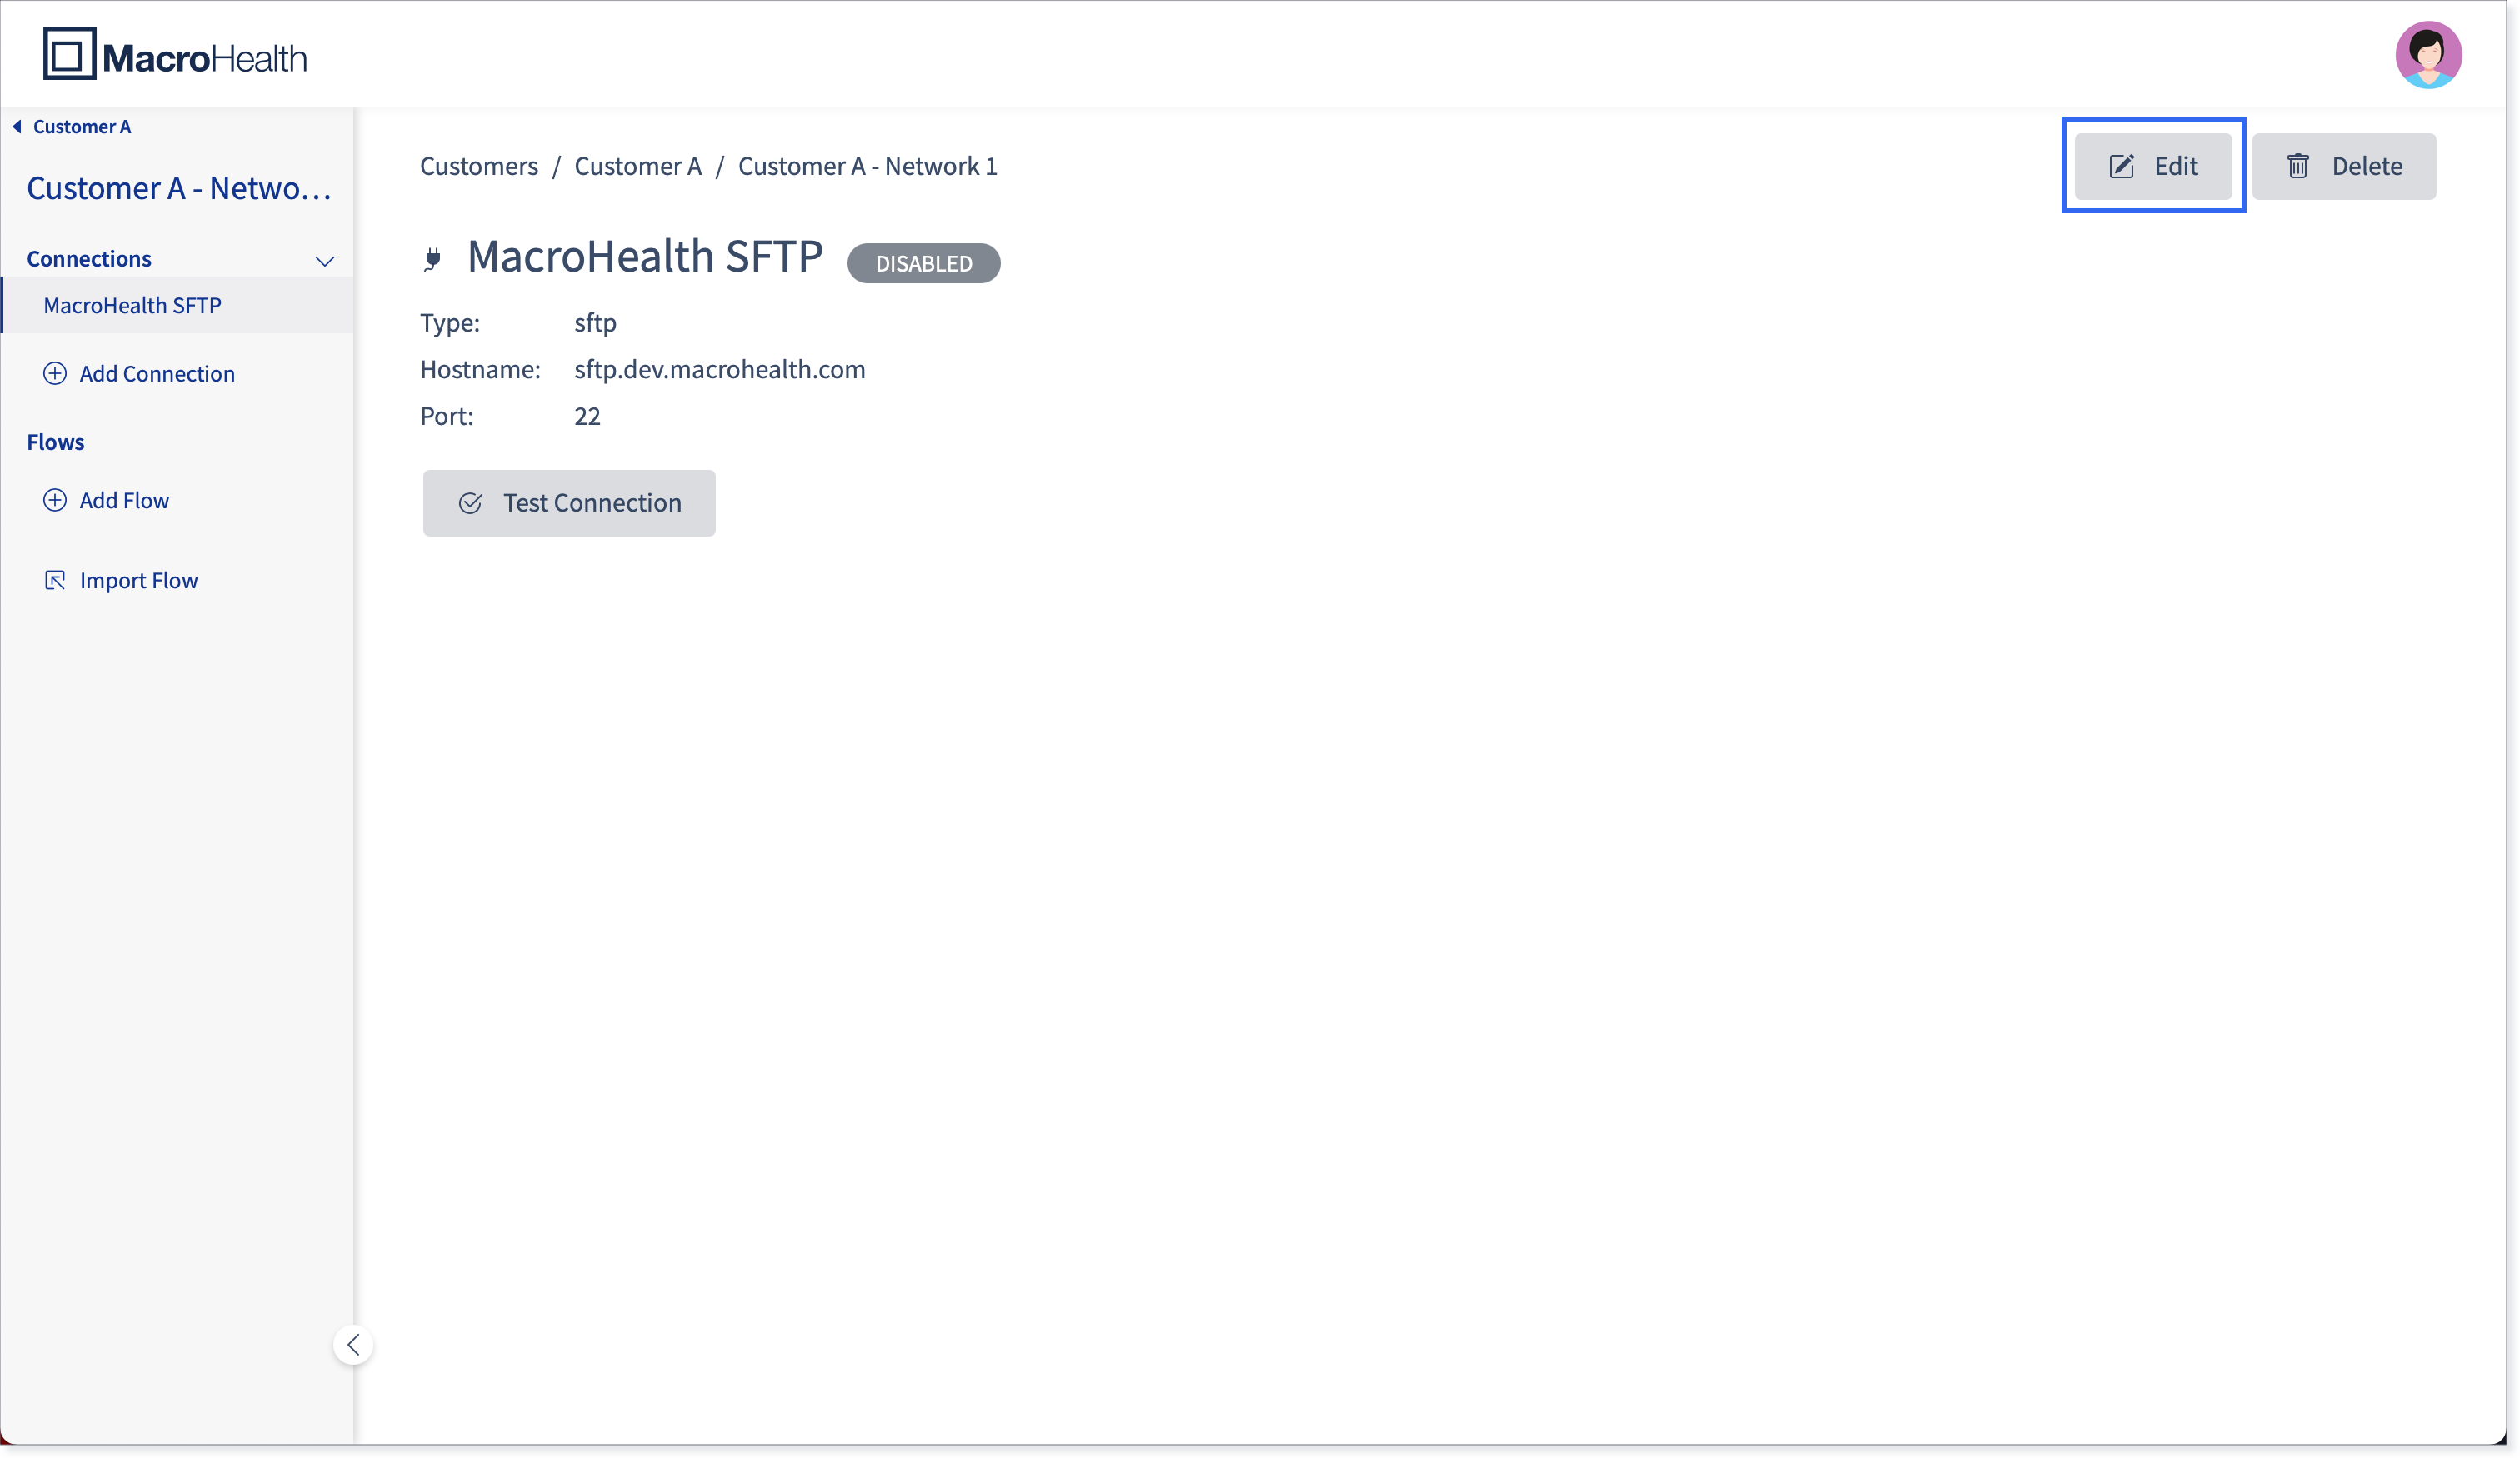
Select the Connection from the Connections list or from the left side panel.
Click Edit.
Apply any changes required and click Save.
A message will appear for a short period of time letting you know that the Connection was updated successfully. Any changes applied will be displayed in the Connections page.

Deleting a Connection
In the Connect tab, select the Customer for which you need to delete a connection.
Select the Integration from the Integrations list or from the left side panel.
Select the Connection from the Connections list or from the left side panel.
Click Delete.
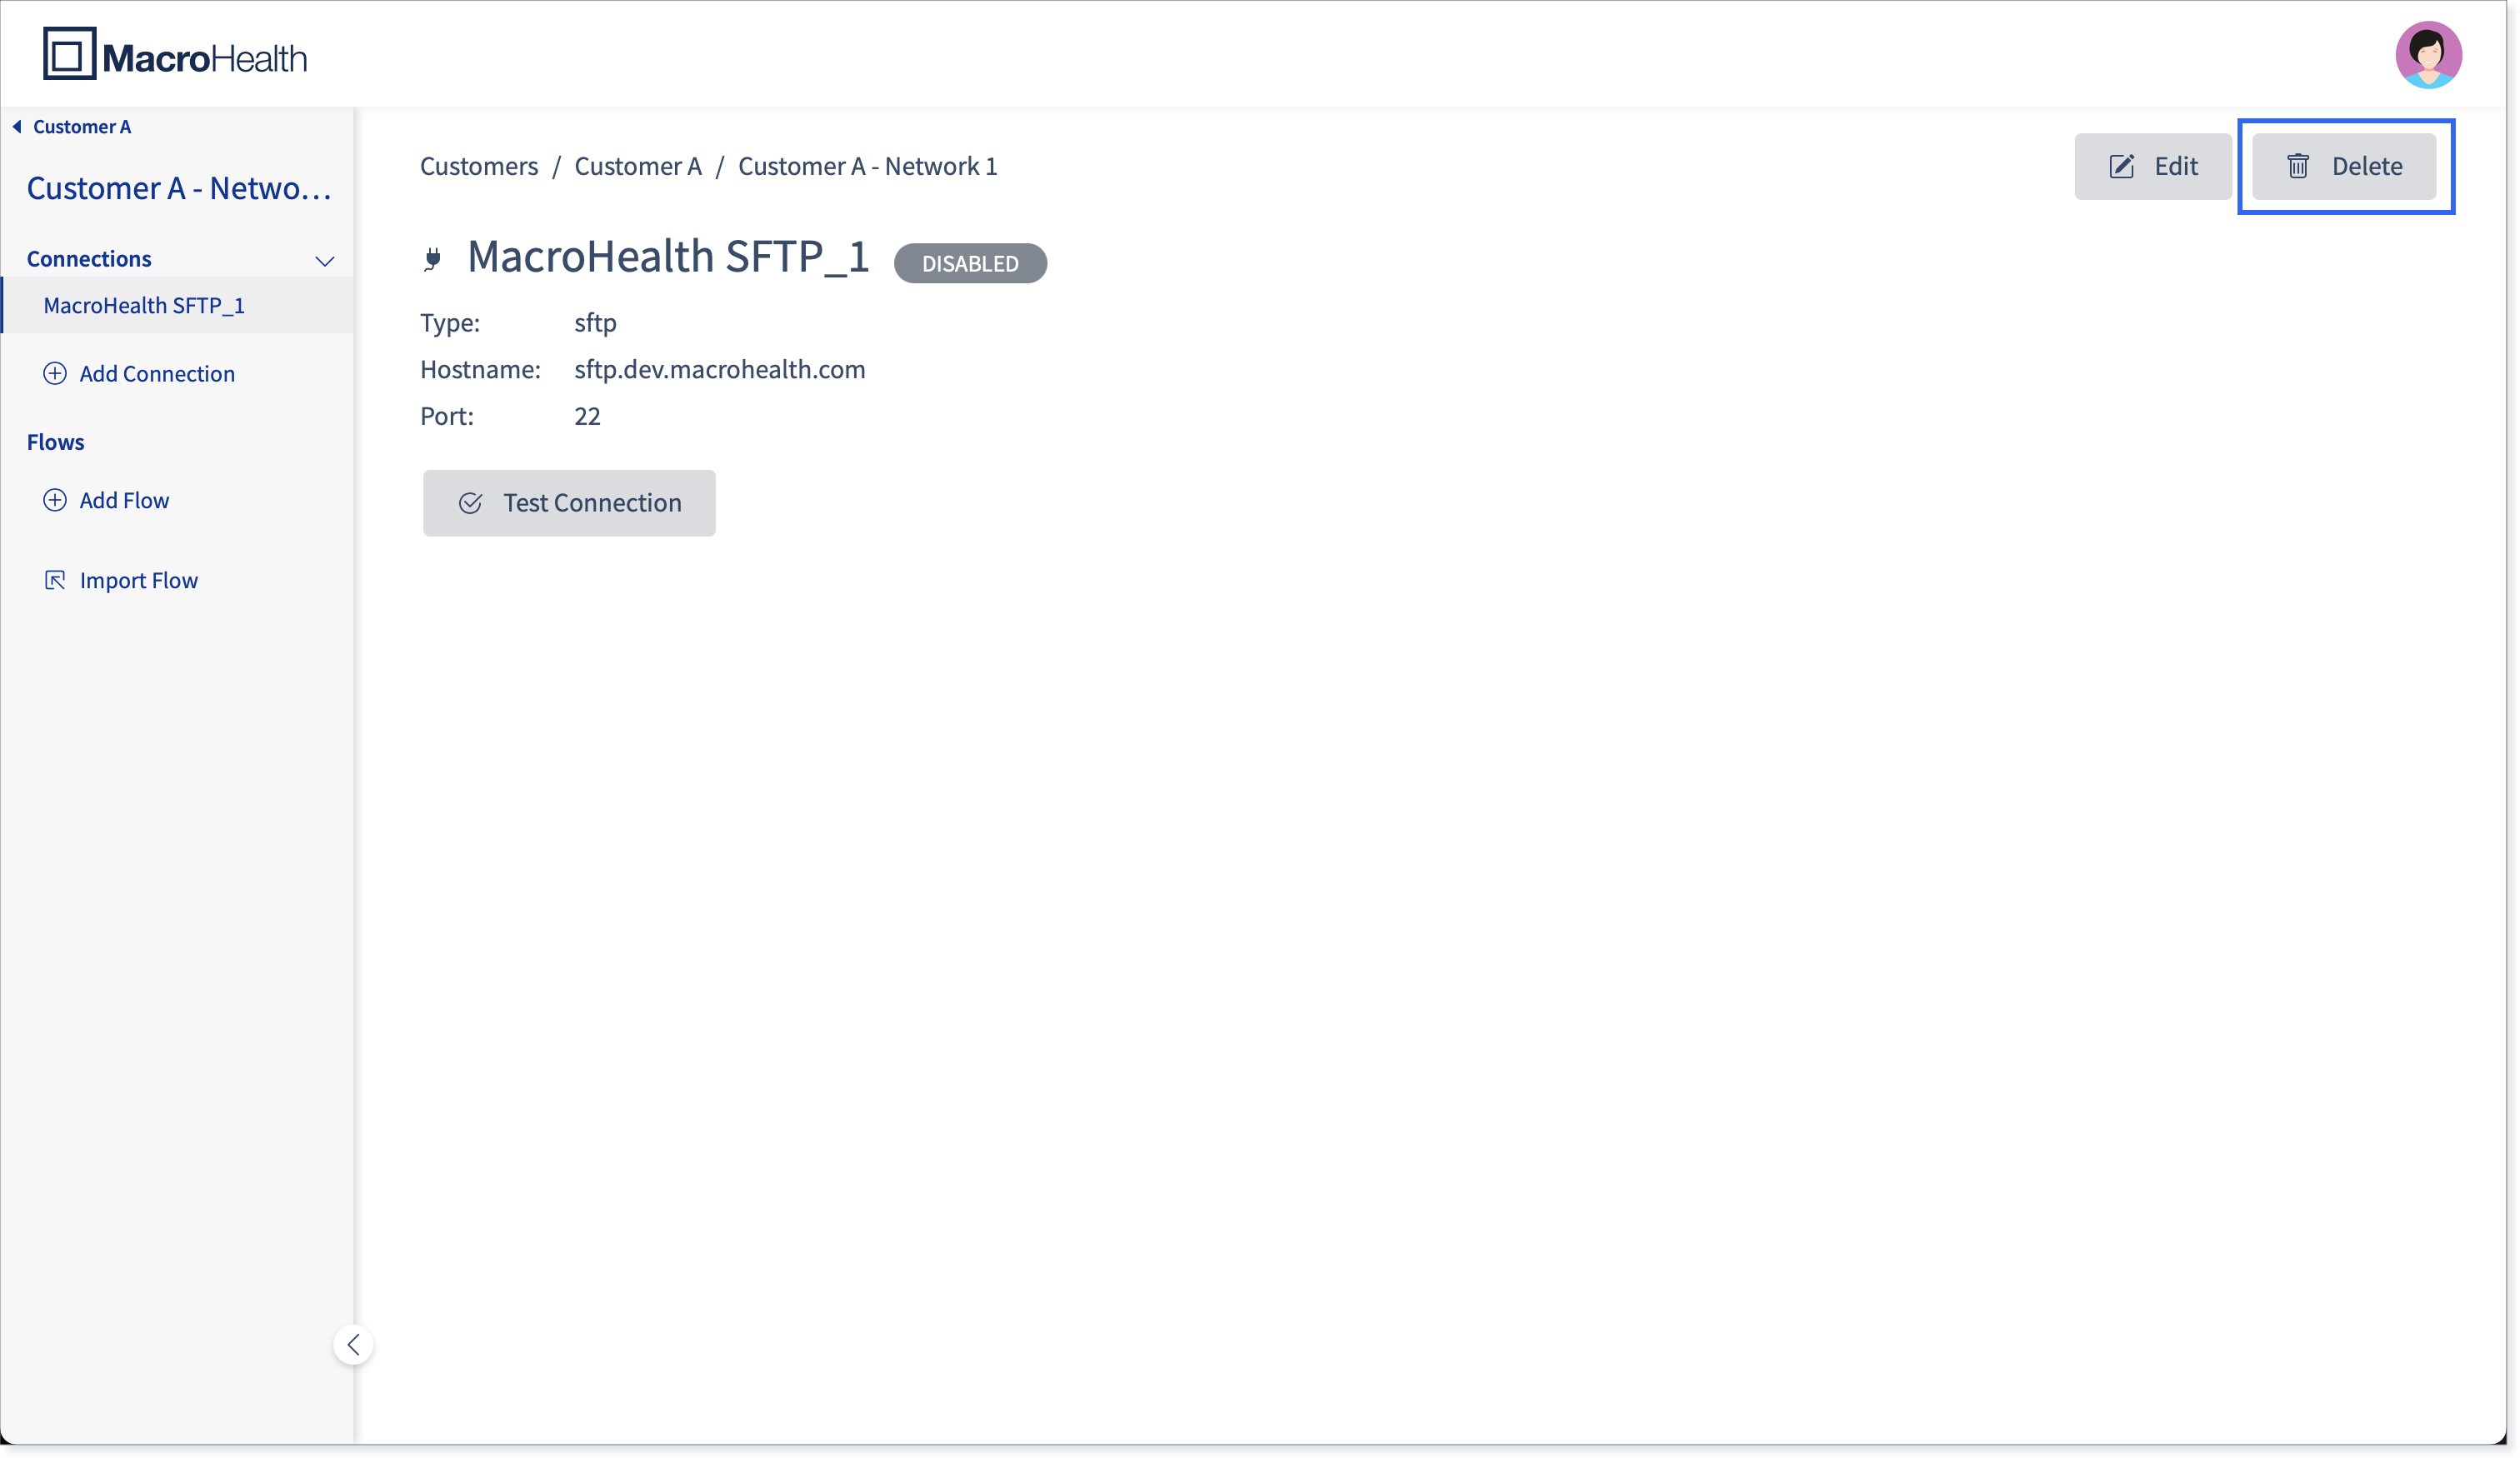
You will be asked to confirm that you really want to delete the connection. If you want to proceed, click Delete Integration.
Warning
When deleting a Connection, all claim and enrollment traffic will stop.

A message will appear for a short period of time letting you know that the Connection was deleted successfully. The Connection will no longer appear in the Integration's landing page.

